Sure! Here’s a simple sample project using Godot commands:
- Create a new project
Follow the steps in the previous answer to create a new project in Godot.
- Create a new scene
In the Godot editor, click on “Scene” in the top menu and select “New Scene”. This will create a new scene that you can use as the starting point for your project.
- Add a root node
In the new scene, add a root node by right-clicking in the 3D scene and selecting “Node2D”. This will be the parent node for all other nodes in the scene.
- Add a sprite node
To add a sprite to the scene, right-click on the root node and select “Sprite”. This will create a new sprite node as a child of the root node.
- Load a texture
To load a texture for the sprite, click on the sprite node in the scene tree and go to the “Texture” property in the “Inspector” panel. Click on the “…” button next to the property and select a texture file to load.
- Add a script
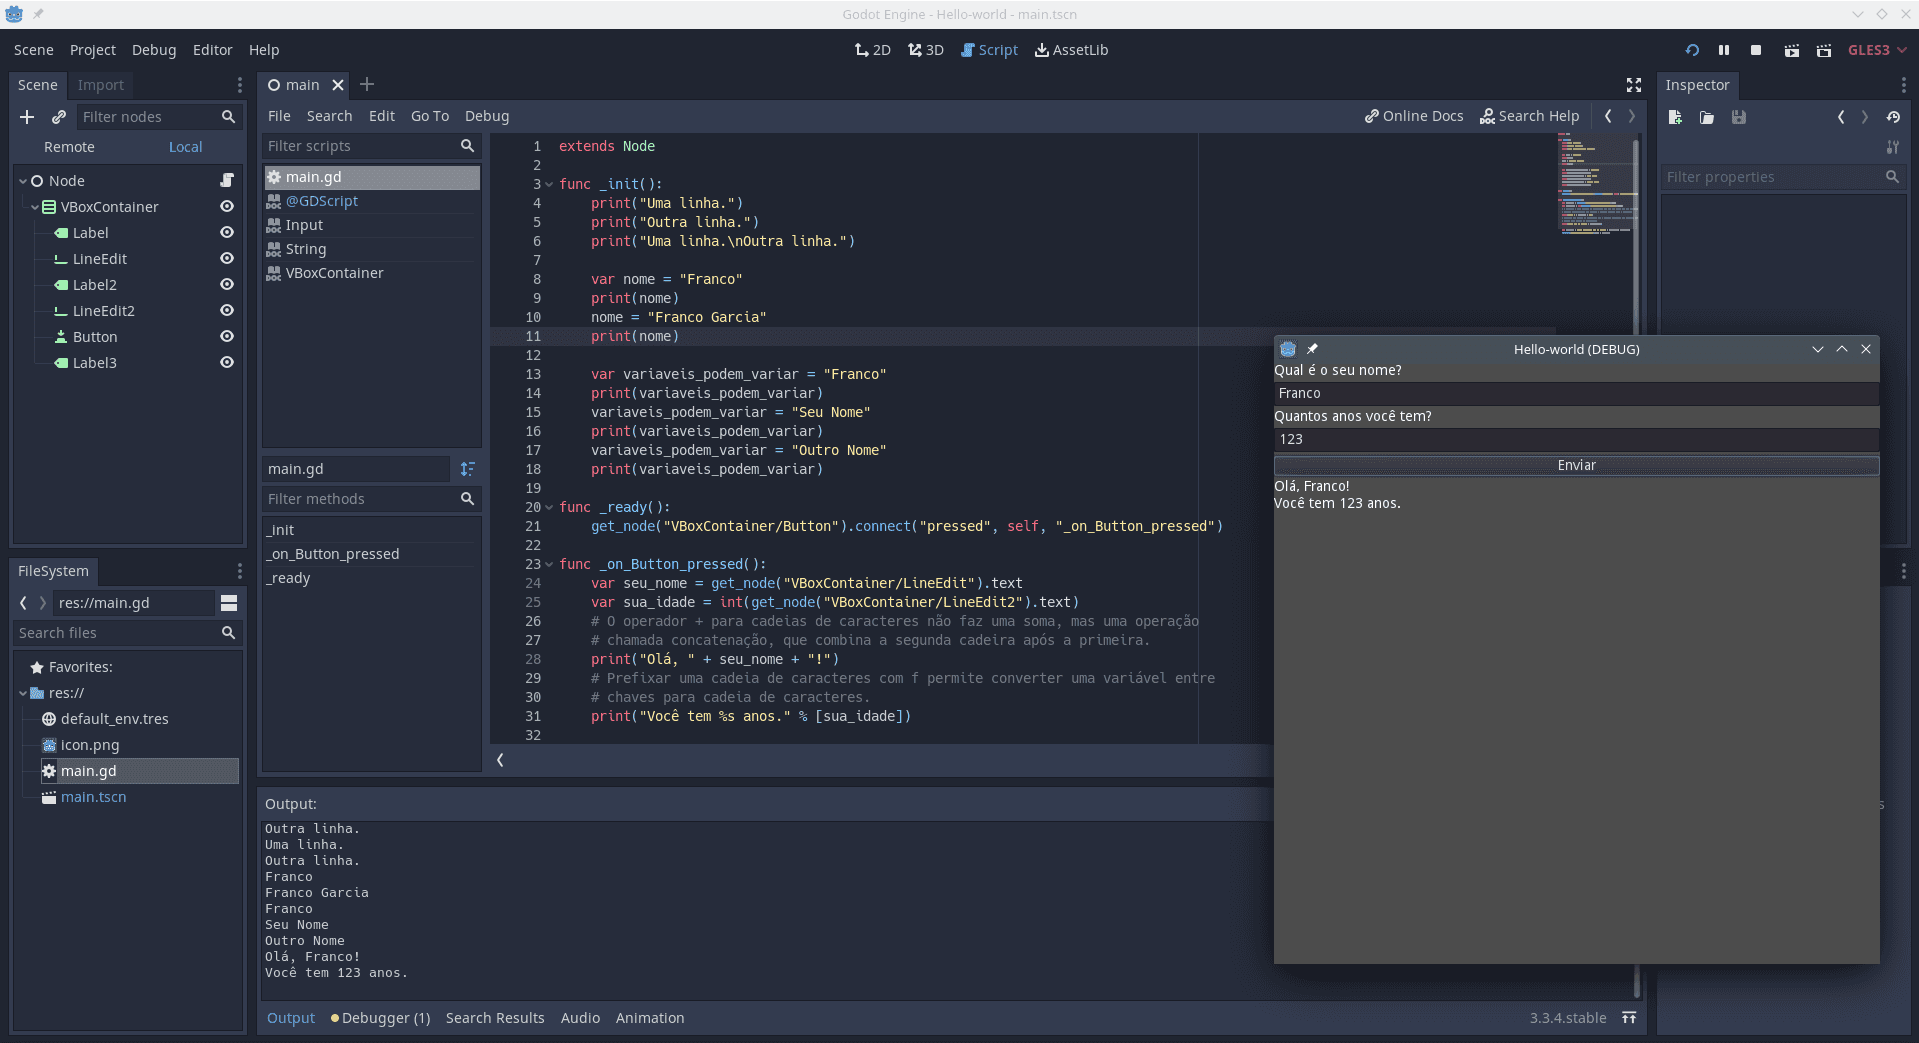
To add a script to the sprite node, click on the sprite node in the scene tree and go to the “Script” property in the “Inspector” panel. Click on the “…” button next to the property and select “New Script”. This will open a new script editor window.
- Write a simple script
Here’s a simple script that moves the sprite node when the left or right arrow keys are pressed:
extends Sprite
var speed = 200
func _physics_process(delta):
var velocity = Vector2()
if Input.is_action_pressed(“ui_right”):
velocity.x = speed
if Input.is_action_pressed(“ui_left”):
velocity.x = -speed
position += velocity * delta
This script uses the Input class to check if the left or right arrow keys are being pressed, and then sets the velocity property of the sprite node accordingly. The _physics_process function is called every physics frame and updates the position of the sprite node based on the velocity.
- Test the scene
To test the scene, click on the “Play” button in the top right corner of the Godot editor. This will open a new window where you can test your scene. Use the left and right arrow keys to move the sprite node.
That’s it! You have now created a simple sample project using Godot commands. From here, you can continue to add more nodes, scripts, and functionality to your project.
About Author
Discover more from SURFCLOUD TECHNOLOGY
Subscribe to get the latest posts sent to your email.


