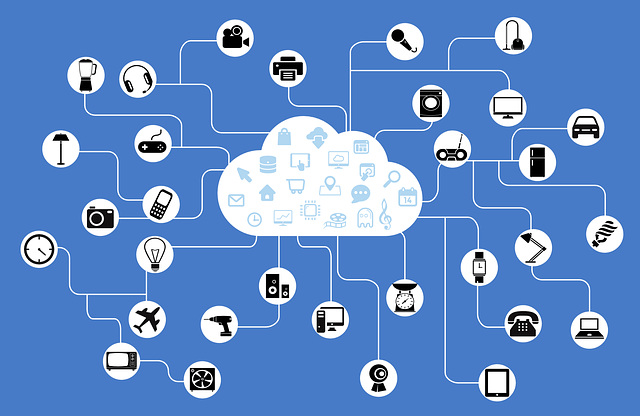
A network printer is a printer that can be connected to a computer network. Instead of being directly connected to a computer, a network printer can be connected to a printer server, which can then be accessed by multiple computers. This allows for greater efficiency and easier management of printing resources within an organization.
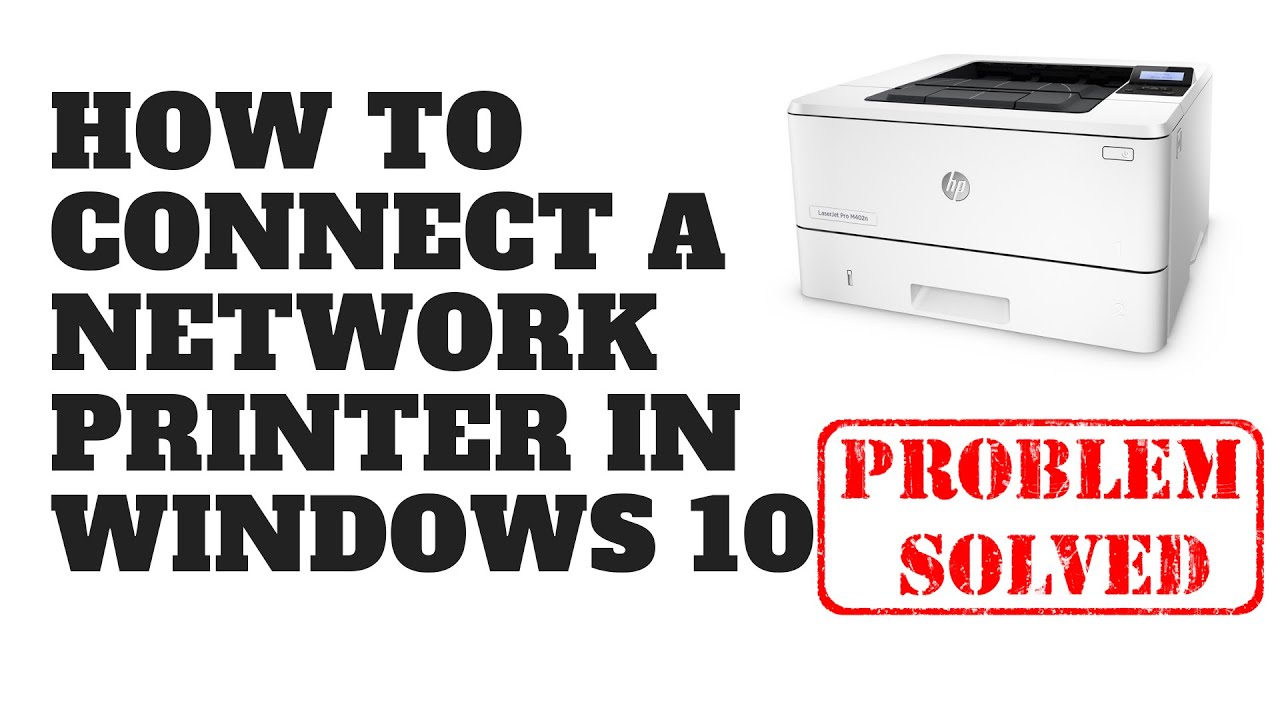
How to Set Up Windows 10 Pro as a Network Printer
-
Check Your Device Compatibility: Ensure that your Windows 10 Pro device and your network printer are compatible with each other.
-
Enable Device Discovery: In Windows 10 Pro, you can search for network printers using Windows Settings. Here’s how to do it:
a. Open the Windows Settings app.
b. Click on “Devices.”
c. Click on “Add a printer or scanner.”
d. Ensure to select and click on “I’m ready to set up a printer using my own driver.”
-
Install Printer Drivers: When the Add a printer wizard opens, select the appropriate printer from the list or click on “Use the printer driver that came with my printer (recommended).” Click “Next.”
-
Set Up Printer Properties: Adjust the settings as per your requirements, such as selecting the paper source, choosing print quality, and configuring other print settings. Click “Next.”
-
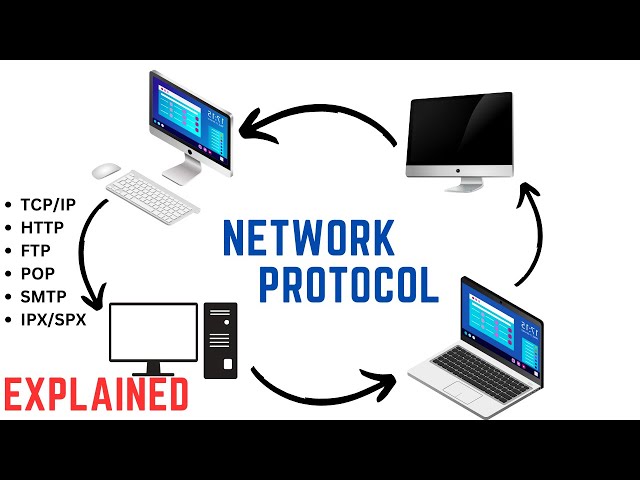
Set Up Printer Port: Select “New Port” from the list. You’ll be asked to specify the port number, which is usually 9100 for printers. Enter this number and select the protocol TCP/IP as the port type. Click “Next.”
-
Enter Printer IP Address: Type the IP address of your network printer and click “Next.”
-
Review Printer Information: Verify that all the information you’ve entered is correct. If it is, click “Next” to begin installing the printer.
-
Share the Printer: Once the printer is installed, you can share it with other devices on your network. Right-click on the printer icon in the printers folder, and select “Properties.” In the Properties window, click on the “Sharing” tab. Check the box that says “Share this printer,” and then select the print queue you want to share. Click “OK” to save the changes.
-
Allow Access to the Printer: Finally, make sure to grant permission to the devices you want to access the printer. Right-click on the printer icon again, select “Properties,” and click on the “Security” tab. Choose the users or groups you want to grant access to and select the desired print permissions for them. Click “OK” to save the changes.
-
Restart Your Devices: After completing the above steps, restart both the Windows 10 Pro device and the network printer.
-
Add the Network Printer: On your Windows 10 Pro device, go to the printers folder, right-click anywhere, and select “Add a printer.” Choose “Add a network, wireless, or Bluetooth printer” and click “Next.”
-
Find the Network Printer: Select “A printer with a different driver (per manufacturer)” and click “Next.” Click on “Find a printer in a nearby network.” Windows 10 will search for available printers and display them.
-
Install the Network Printer Driver: Once the printer is detected, click on “Next.” You may need to choose a different driver for your network printer, as the Windows 10 Pro device’s printer driver might be different. Make sure to select and click on the appropriate driver and click “Next.”
-
Install Printer: After selecting the appropriate driver, follow the remaining prompts to complete the printer installation.
Once you’ve completed these steps, your network printer should be set up and ready to use on your Windows 10 Pro device.
About Author
Discover more from SURFCLOUD TECHNOLOGY
Subscribe to get the latest posts sent to your email.