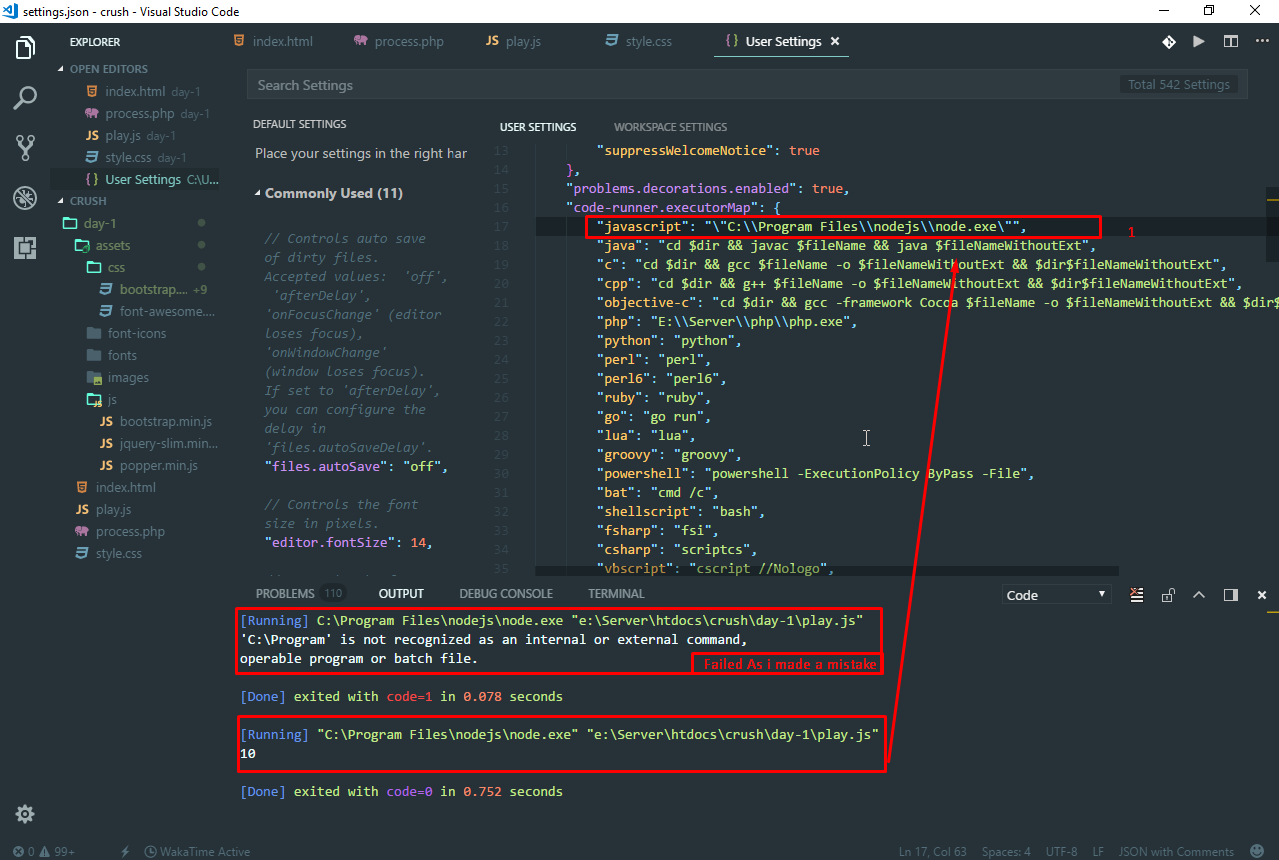
To save a JavaScript project in Visual Studio Code, you can follow these steps:
- Create a new project folder: Open Visual Studio Code and create a new folder for your JavaScript project by selecting “File” > “Open Folder” from the menu. Navigate to the location where you want to create your project folder and click “New Folder” to create a new folder. Then, select the folder and click “Open” to open it in Visual Studio Code.
- Initialize a new Node.js project: Open the integrated terminal in Visual Studio Code by selecting “Terminal” > “New Terminal” from the menu. In the terminal, run the following command to initialize a new Node.js project:
npm init -y
This command creates a new package.json file in your project folder, which is used to manage dependencies and scripts for your project.
- Create a new JavaScript file: In Visual Studio Code, create a new JavaScript file by selecting “File” > “New File” from the menu. Save the file with a
.jsextension, such asindex.js, in your project folder. - Write your JavaScript code: Write your JavaScript code in the new file. For example, you can create a simple “Hello, World!” program by adding the following code to your
index.jsfile:
console.log(“Hello, World!”);
- Save the JavaScript file: Save the JavaScript file by selecting “File” > “Save” from the menu.
- Run the JavaScript code: Open the integrated terminal in Visual Studio Code (if it’s not already open) and run the following command to execute your JavaScript code:
node index.js
This command runs the index.js file using Node.js and outputs “Hello, World!” in the terminal.
- Manage dependencies: If your JavaScript project requires external dependencies, you can manage them using the
package.jsonfile. For example, you can install a library likelodashby running the following command in the terminal:
npm install lodash
This command installs the lodash library and adds it to the dependencies section of your package.json file.
- Organize your project: As your JavaScript project grows, you can organize it by creating subfolders, adding more JavaScript files, and managing dependencies using the
package.jsonfile.
By following these steps, you can create, save, and run a JavaScript project in Visual Studio Code.
About Author
Discover more from SURFCLOUD TECHNOLOGY
Subscribe to get the latest posts sent to your email.


