To launch your first project using Visual Studio Code in JavaScript, follow these steps:
-
Create a new directory for your project and navigate into it:
mkdir my-js-project
cd my-js-project
- Initialize a new JavaScript project with
npmby running:
npm init -y
- Create a new JavaScript file,
index.js, in your project directory:
touch index.js
-
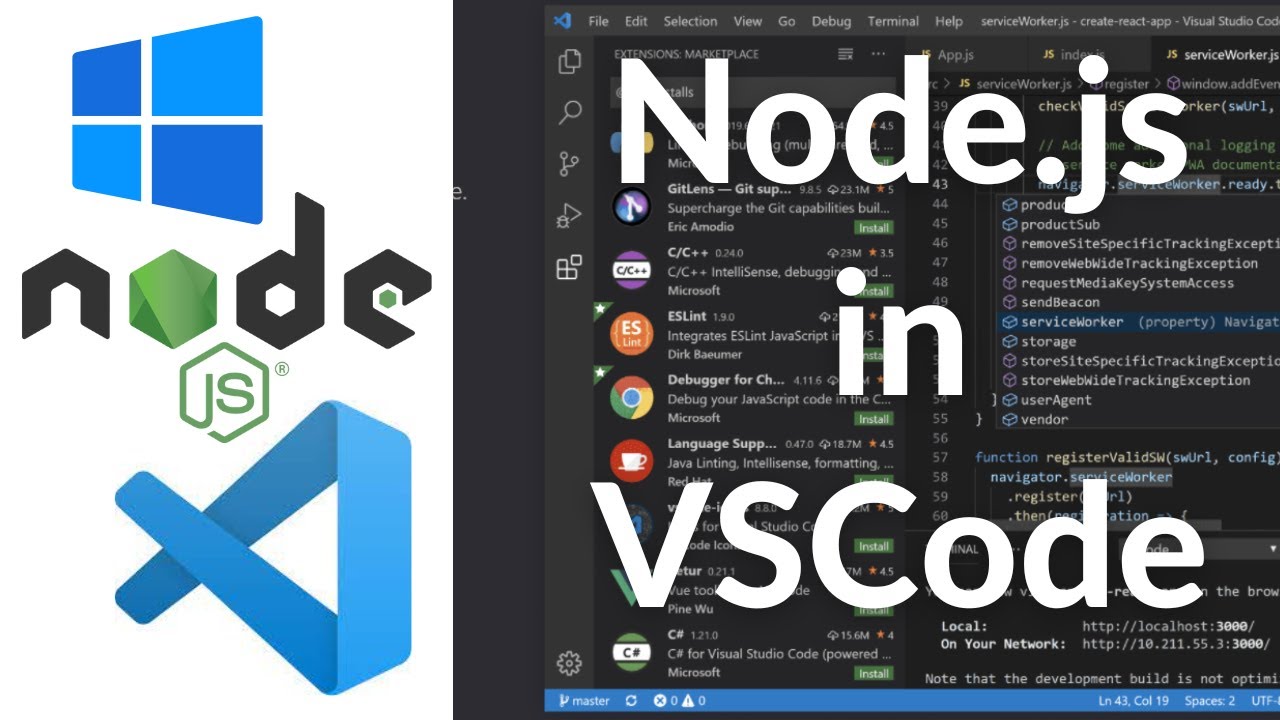
Open Visual Studio Code, and open your project directory by clicking “File” > “Open Folder” and selecting your
my-js-projectdirectory. -
Write a simple JavaScript program in
index.js, for example:
function greet(name) {
return `Hello, ${name}!`;
}
const message = greet(‘World’);
console.log(message);
-
Save the
index.jsfile. -
In Visual Studio Code, press
F1to open the Command Palette, then type “Terminal: Create New Terminal” and pressEnterto open a new integrated terminal in your project directory. -
Run your JavaScript program by typing the following command in the integrated terminal and pressing
Enter:
node index.js
You should see the output Hello, World! in the terminal.
As a bonus, you can also add some Visual Studio Code extensions to improve your development experience:
-
For JavaScript language support and advanced features, you can install the “JavaScript (ES6) code snippets” extension.
-
For code formatting, the “Prettier” extension is a popular choice.
-
For error checking, the “ESLint” extension integrates well with Visual Studio Code.
You can install extensions by clicking “Extensions” in the left sidebar, searching for the extension name, and clicking the “Install” button next to the extension.
About Author
Discover more from SURFCLOUD TECHNOLOGY
Subscribe to get the latest posts sent to your email.


