To draw the aforementioned, you need to carry out the below steps appropriately.
Creating a new drawing:
- Launch the application (AutoCAD Land Desktop( that is click on the start button)
- Move to all programs and click on it
- Locate the application and point to it
- Click to load the program
- Click on new to create a new drawing
- Set the entire units to the desired measurement, for example, meters or feet.
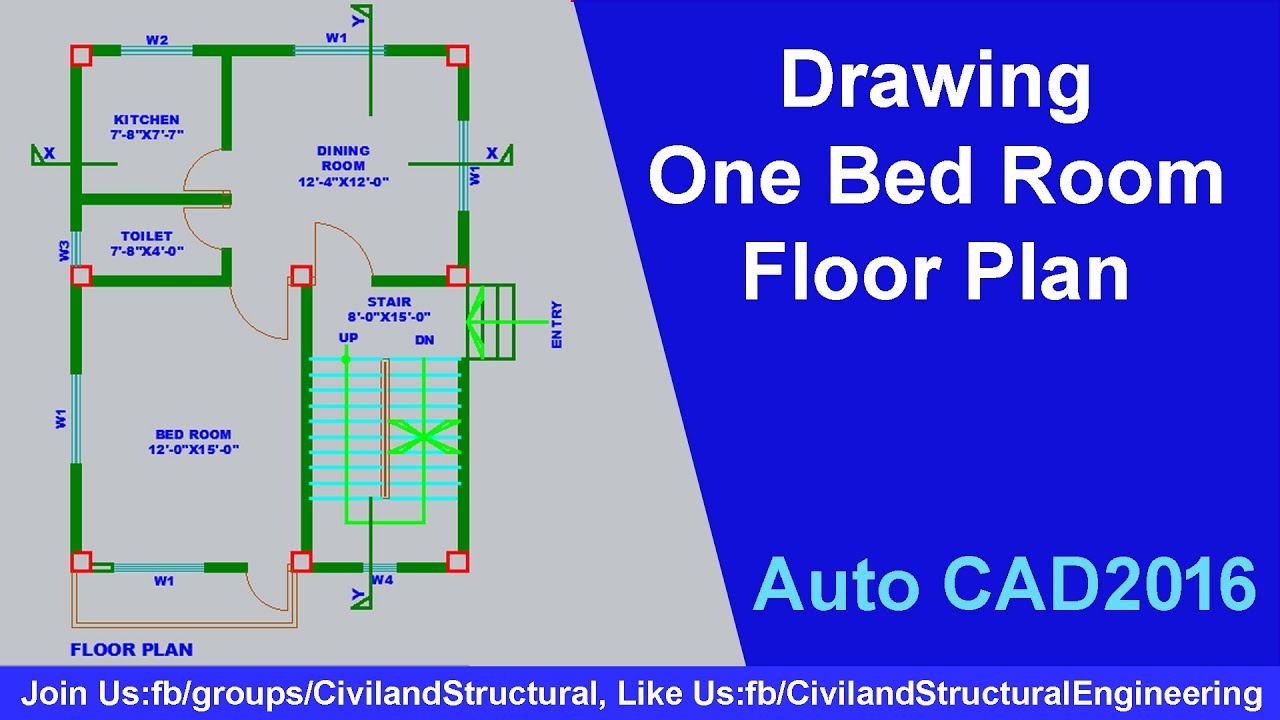
Drawing the building outline:
- Use the primary mouse button as required when drawing and ensure holding down the button in a precise order.
- Drag the button to draw a rectangle to represent the building’s outer walls.
- Note: use the rectang command to create a rectangle with the desired dimensions.
Creating a Grid:
- Create a grid to help you draw the corridor and rooms.
- Make sure to use the grid command to create a grid with the right and desired spacing. Example, it could be 1 meter or even 1 foot.
Draw the Corridor:
- Use the rectang tool
- Hold down the mouse button
- Click to drag to apply to the area or the selected place where you want to apply the corridor.
- Release the mouse button when set.
How to add the Windows and doors:
Adding windows and doors in CAD Desktop is one of the most important things. Meanwhile, most users find it difficult to do so, that is working with windows and doors at the same time.
It is very simple, you can use the DOOR and WINDOW commands to create these objects. That is all.
Drawing the rooms:
- You can also draw two rectangles to represent the two bedrooms by using the rectang tool to perform such an operation.
- Make sure to align the drawing well with the precise calculations and measurements.
Adding Dimensions and Annotations:
- Annotations and Dimensions can be added to your drawing, this is to provide more information about the corridor and rooms.
- You must use the DIM and TEXT tools or syntax to create these known objects.
About Author
Discover more from SURFCLOUD TECHNOLOGY
Subscribe to get the latest posts sent to your email.