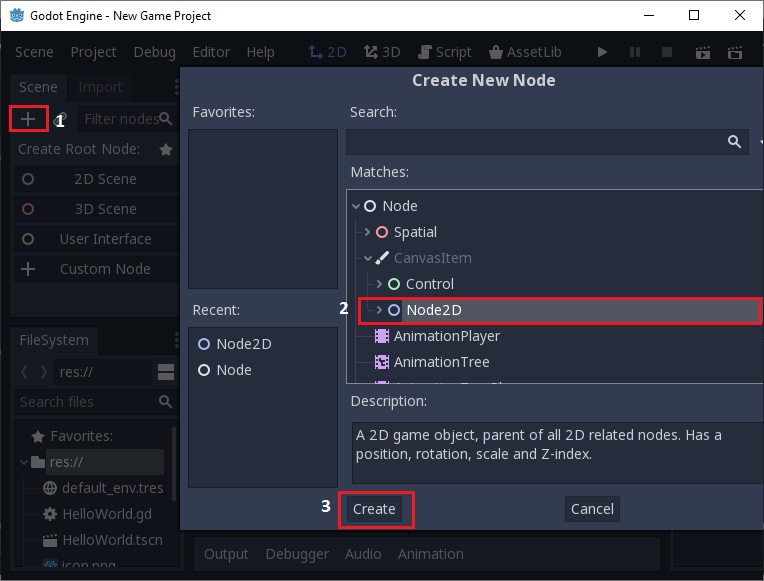
- Open Godot Engine
First, you need to open the Godot Engine on your computer. You can download it from the official website: https://godotengine.org/download.
- Create a new project
Once you have Godot open, you can create a new project by clicking on the “New Project” button on the start screen.
<img src=”https://doc.godotengine.org/en/stable/getting_started/step_by_step/images/godot_new_project.png” alt=”Godot New Project Button” width=”300″>
- Select a template
After clicking “New Project”, you will be prompted to select a template for your project. For a blank project, choose “Empty Project”.
<img src=”https://doc.godotengine.org/en/stable/getting_started/step_by_step/images/godot_new_project_template.png” alt=”Godot New Project Template” width=”300″>
- Name your project
Next, you will need to name your project and select a location to save it.
<img src=”https://doc.godotengine.org/en/stable/getting_started/step_by_step/images/godot_new_project_name.png” alt=”Godot New Project Name” width=”300″>
- Start the editor
Finally, click “Create Project” to open the Godot editor and start working on your project!
<img src=”https://doc.godotengine.org/en/stable/getting_started/step_by_step/images/godot_new_project_created.png” alt=”Godot New Project Created” width=”300″>
That’s it! You have now created your first project in Godot. From here, you can start adding scenes, objects, and scripts to bring your game.
About Author
Discover more from SURFCLOUD TECHNOLOGY
Subscribe to get the latest posts sent to your email.


