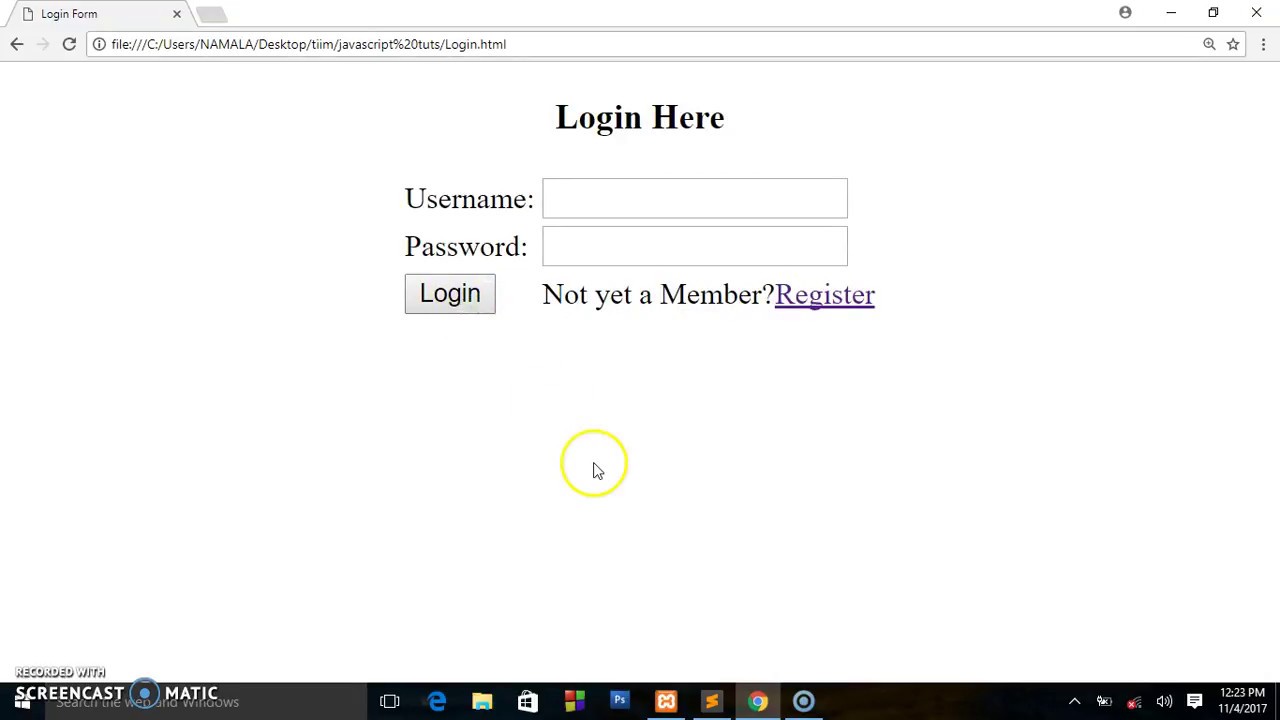
Since it is a crucial subject in html studies, one of the best first projects for all web development students to learn is how to create a login page using the HTML environment.
Find the below codes when building a login page using html:
<!DOCTYPE html>
<html>
<head>
<title>Login Form</title>
</head>
<body>
<h1>Login</h1>
<form action="/login" method="post">
<label for="username">Username:</label><br>
<input type="text" id="username" name="username"><br>
<label for="password">Password:</label><br>
<input type="password" id="password" name="password"><br>
<input type="submit" value="Submit">
</form>
</body>
</html>
Here’s a breakdown of the code:
<!DOCTYPE html>: This line is a declaration that helps web browsers interpret the HTML document correctly.<html>: This is the root element of the HTML document.<head>: This element contains metadata about the HTML document, such as the title and any linked stylesheets.<title>: This element sets the title of the HTML document, which is displayed in the web browser’s title bar or tab.<body>: This element contains the visible content of the HTML document.<h1>: This element sets the main heading of the HTML document.<form>: This element defines an HTML form, which can be used to submit data to a server.action="/login": This attribute specifies the URL to which the form data should be submitted.method="post": This attribute specifies the HTTP method to be used when submitting the form data.<label>: This element defines a label for a form input.<input>: This element defines an input field in a form.type="text": This attribute specifies that the input field should be a text field.type="password": This attribute specifies that the input field should be a password field.id: This attribute sets the unique identifier for the input field.name: This attribute sets the name of the input field, which is used to identify the data when it is submitted.<input type="submit">: This element defines a submit button for the form.
I hope this helps! Let me know if you have any questions or if there’s anything else I can help you with.
About Author
Discover more from SURFCLOUD TECHNOLOGY
Subscribe to get the latest posts sent to your email.