To create a keyboard shortcut to take a screenshot in Windows, you can follow these steps:
Press Win + R to open the Run dialog box.
Perform or feed in with the following syntax: type in the run window regedit and press Enter to open the Registry Editor.
Navigate to the following registry key:
HKEY_CURRENT_USER\Control Panel\Keyboard
Right-click on the keyboard key and select New > String Value. Name the new string value PrintScreenKeyForSnippingTool.
Double-click on the PrintScreenKeyForSnippingTool string value you just created.
In the “Value data” field, type 2, which corresponds to the ‘Print Screen’ key, You can use different numbers for other keys, like ‘Scroll Lock’ (7) or ‘Num Lock’ (8).
Click “OK” to save your changes.
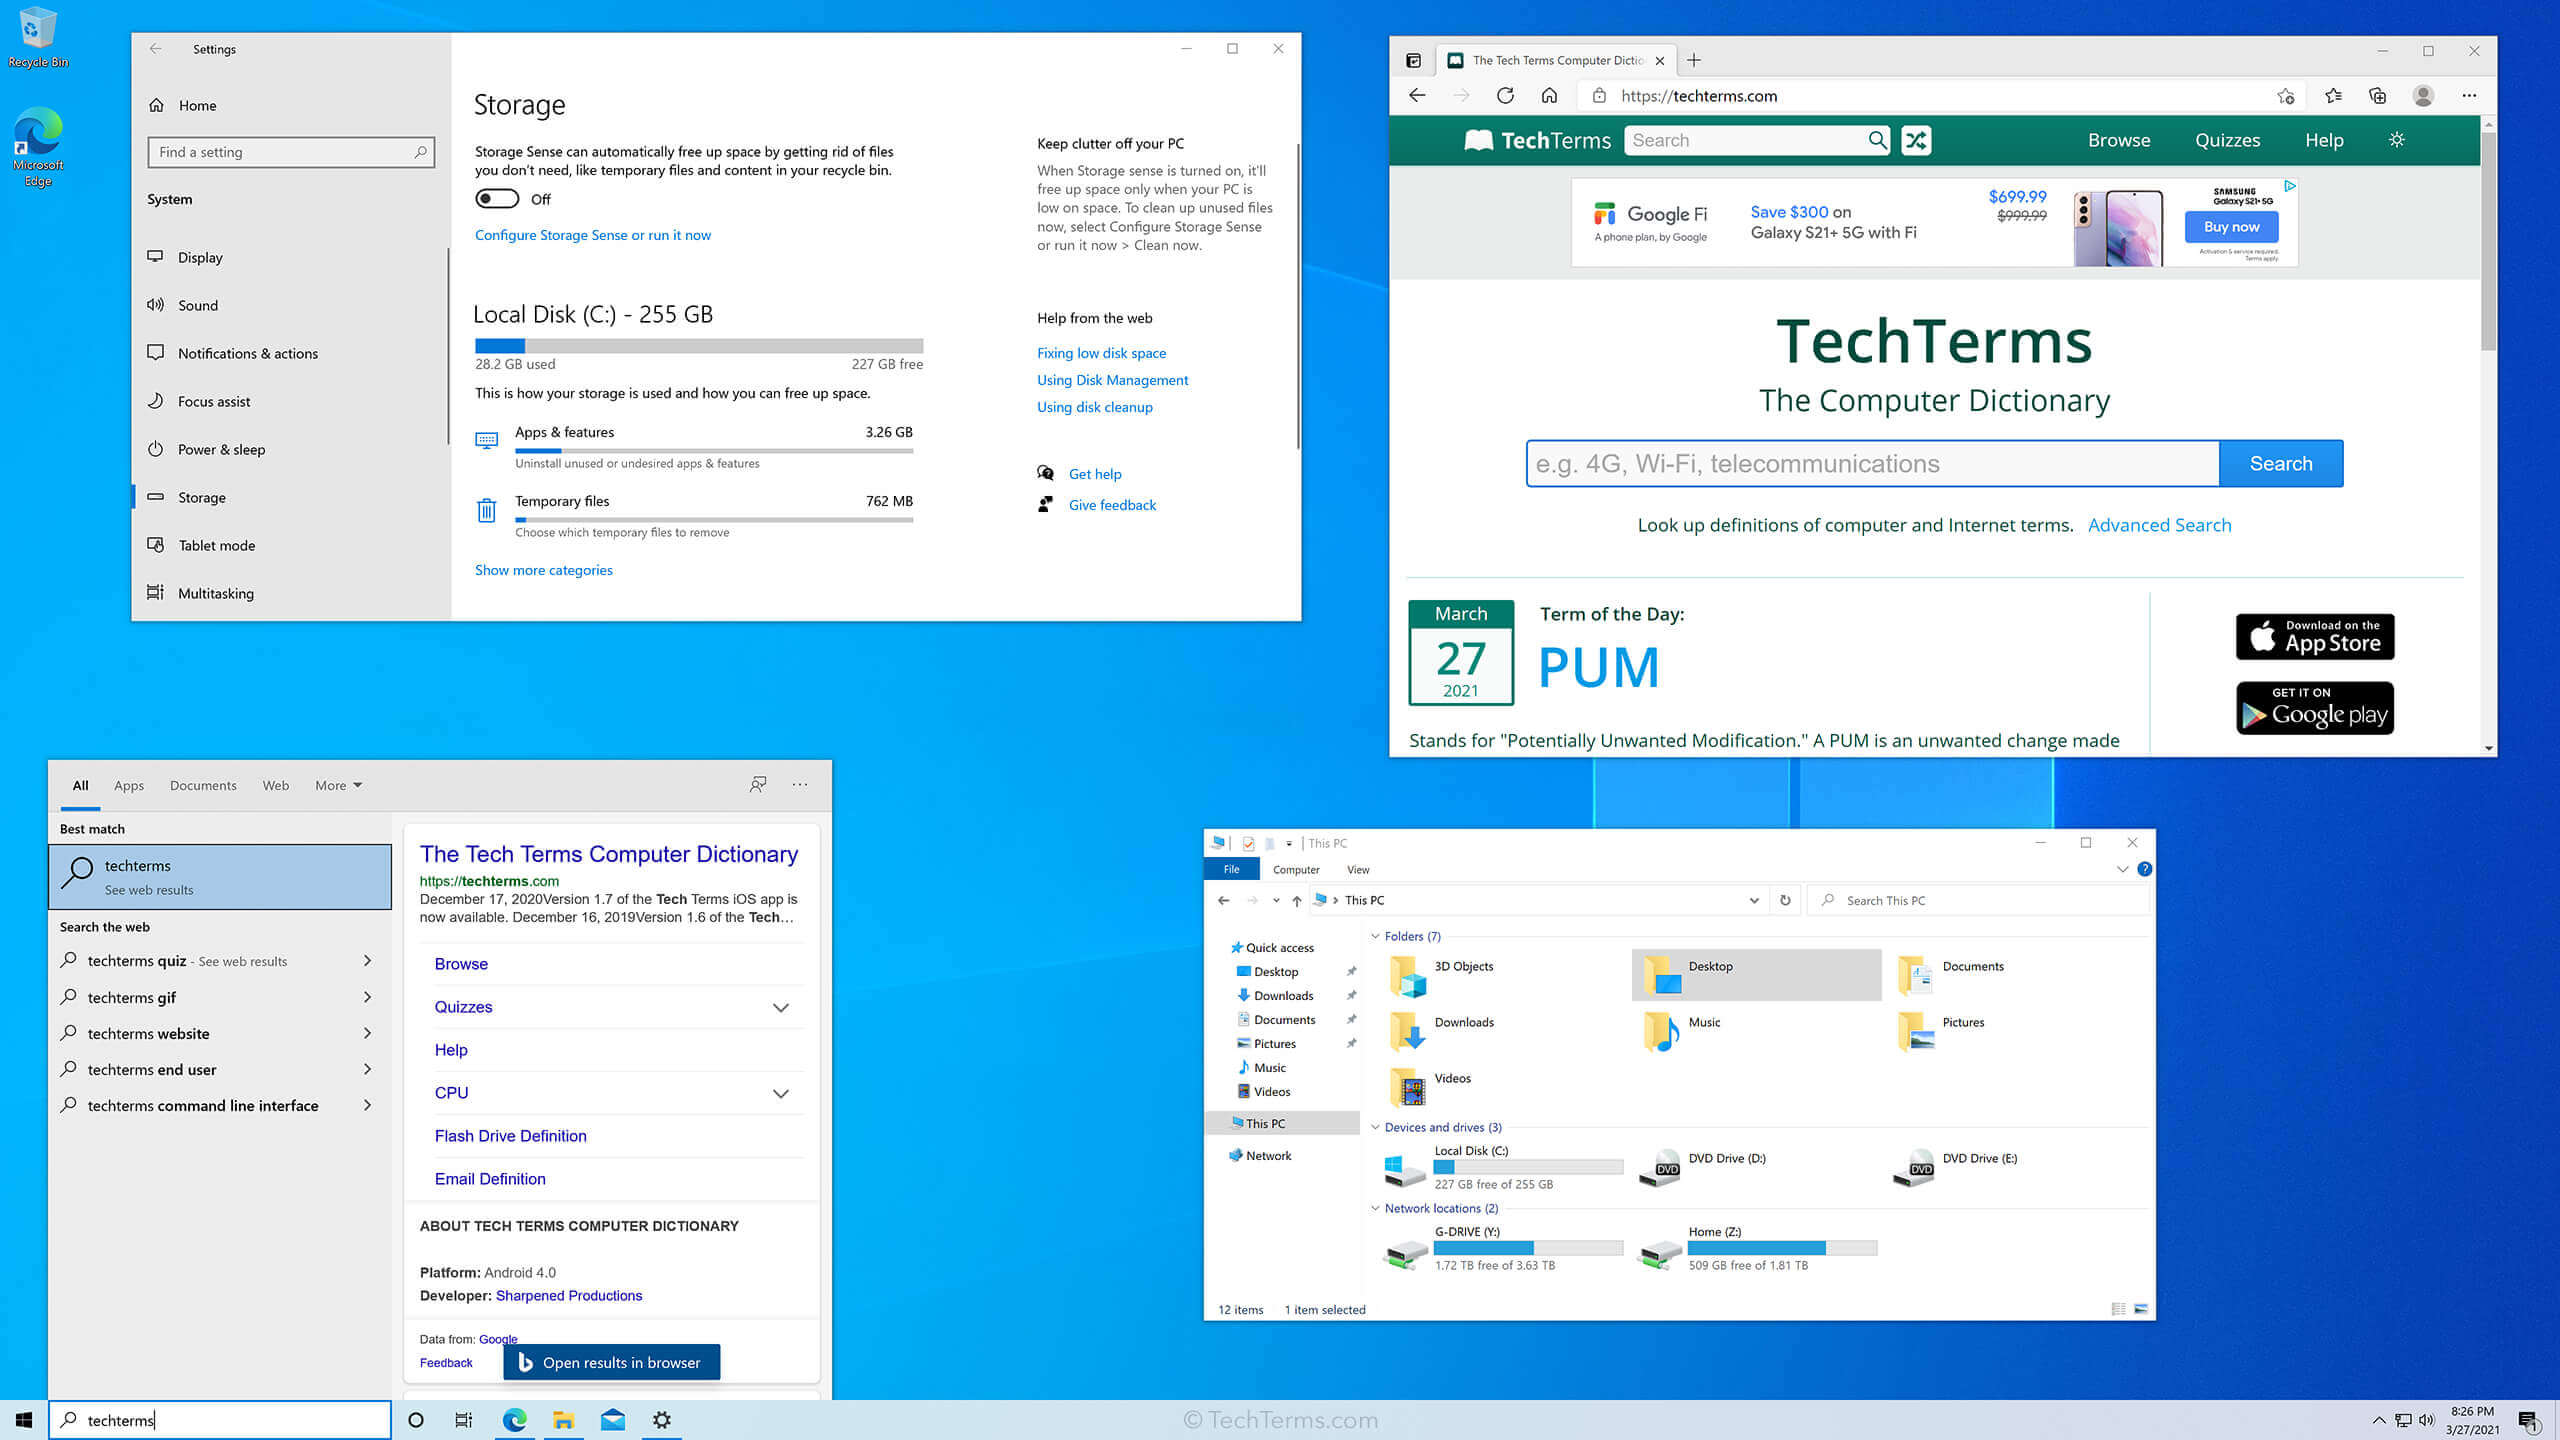
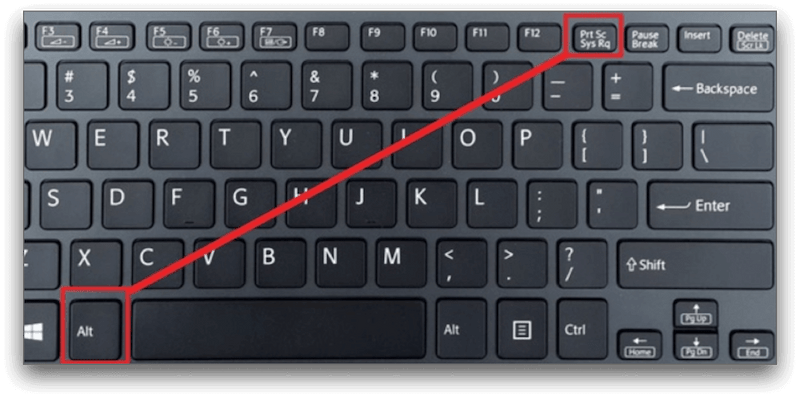
Now, whenever you press the ‘Print Screen’ key, a screenshot will be saved to your Pictures folder. You can customize the shortcut further by creating a .bat file with the following content:
snippingtool.exe /clip
snippingtool.exe /clip
Save this .bat file to your desired location and create a shortcut to it.
Right-click on the shortcut, go to “Properties,” and then navigate to the “Shortcut” tab.
Click on the “Shortcut key” field and press the desired key combination to set it as the keyboard shortcut for taking screenshots.
About Author
Discover more from SURFCLOUD TECHNOLOGY
Subscribe to get the latest posts sent to your email.