Connect to the internet: You need to have a stable internet connection to manage your Wi-Fi settings.
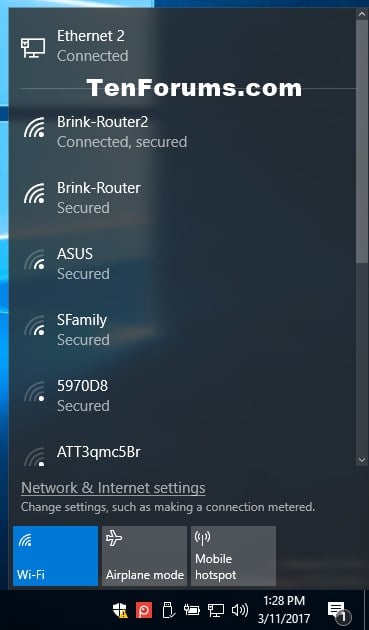
Right-click on the Network icon: Click on the network icon located on the bottom right corner of your screen. Then, right-click on it.
Click on Open Network & Internet settings: A settings window will open. In the left panel, click on Network & Internet.
Click on Wi-Fi: On the right side of the settings window, you will see different network connections. Click on Wi-Fi.
Add a new Wi-Fi network:
Click on the Manage Known Networks button.
In the window that opens, click on Add a network.
You will see a list of available networks. Choose the network you want to connect to from the dropdown menu and click on Connect.
A new window will open. Enter the password for the network and choose the type of network (Home, Work, etc.). Click on Save.
Remove a Wi-Fi network:
Click on the Manage Known Networks button.
In the window that opens, find the network you want to remove and click on it.
Click on the Remove network button. A confirmation window will appear. Click on Remove to confirm.
Change a Wi-Fi network password:
Click on the Manage Known Networks button.
In the window that opens, find the network you want to change the password for and click on it.
Click on the Remove network button. A confirmation window will appear. Click on Remove to confirm.
Follow the steps in the “Add a new Wi-Fi network” section to add the network again and enter the new password.
Remember, the network icon is usually located in the system tray at the bottom right corner of your screen. If you have multiple network connections, such as a wired connection and a Wi-Fi connection, make sure you have the right network icon selected.
About Author
Discover more from SURFCLOUD TECHNOLOGY
Subscribe to get the latest posts sent to your email.