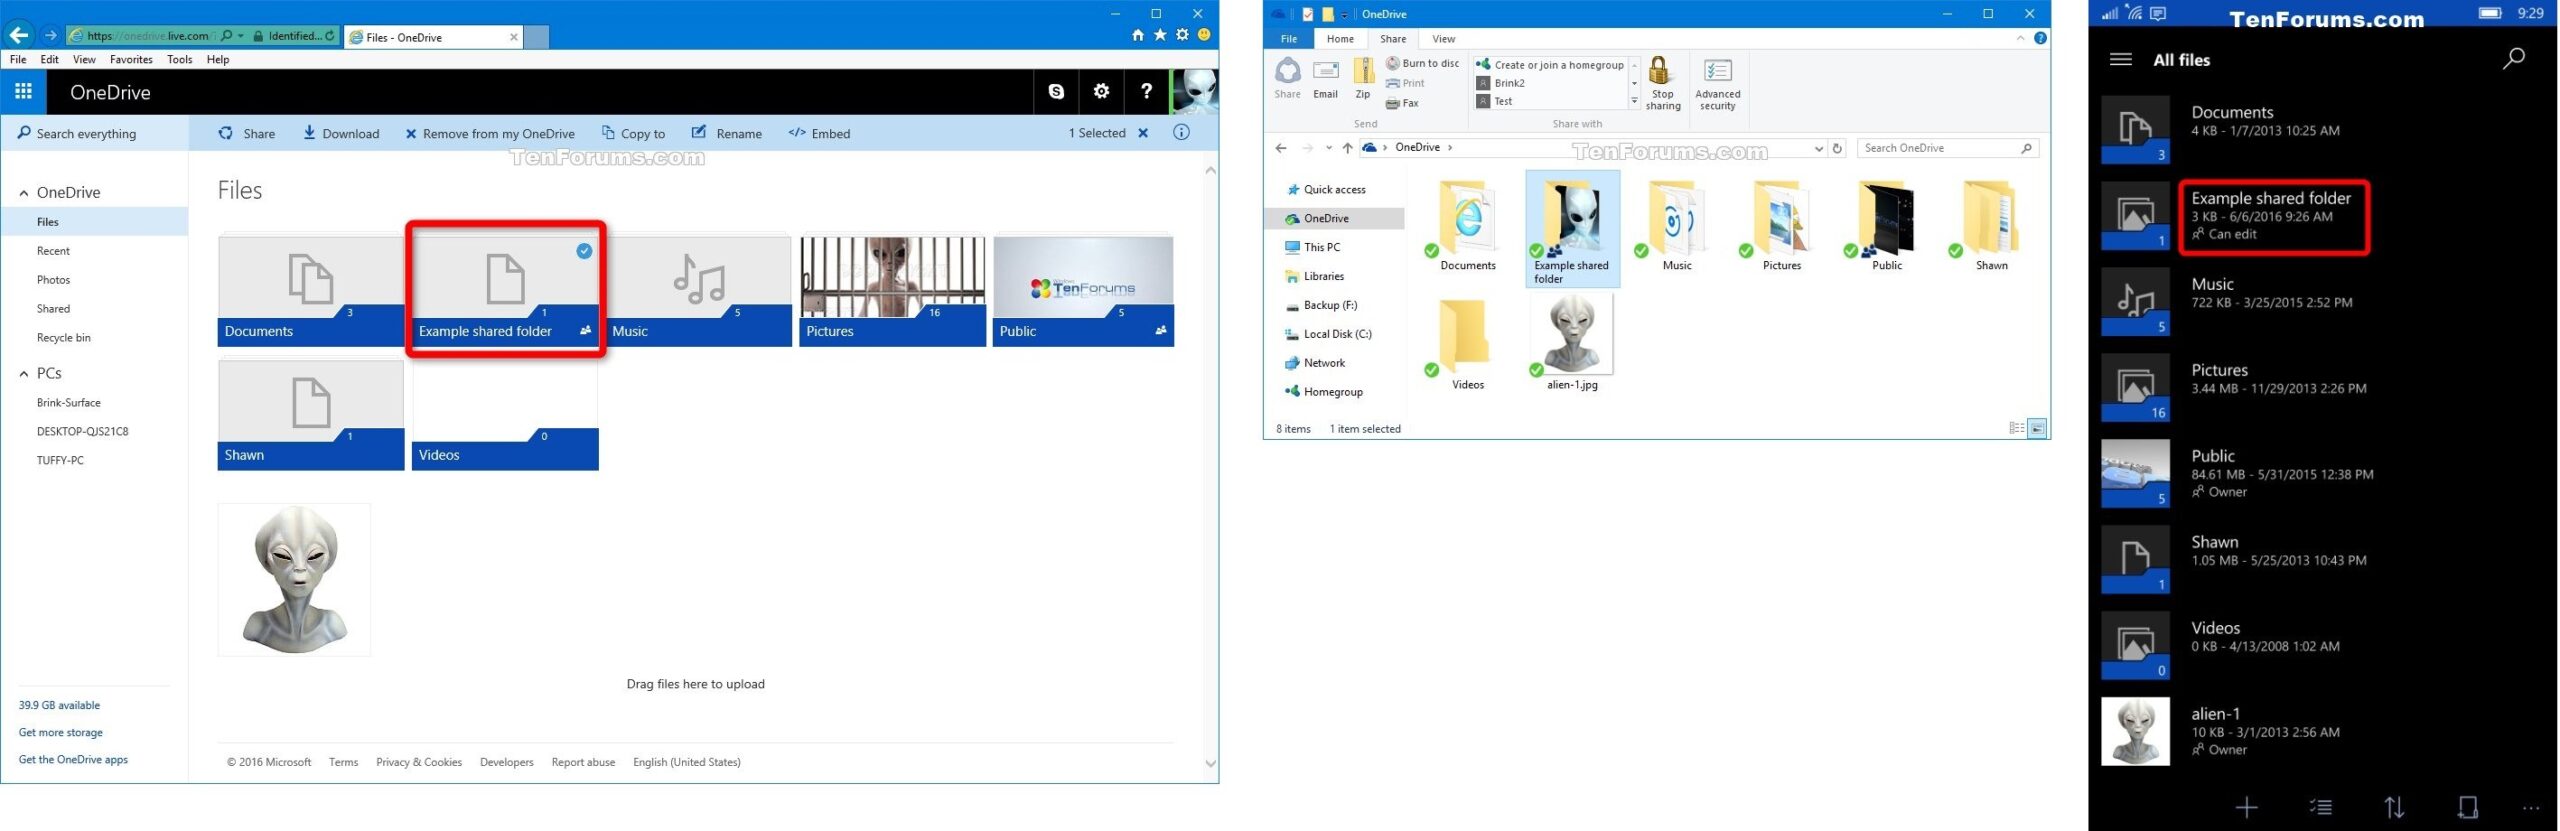
To add a shared folder in Windows 10, you can follow these steps:
- Make sure to select and right-click on the folder you want to share and select “Properties.”
- Move to the other side of the windows where “Sharing” tab is and click on “Advanced Sharing.”
- Check the box next to “Share this folder.”
- You can also change the share name and permissions for the folder on this screen.
- Select and click on “Apply” and then “OK” to close the windows.
(To edit a shared folder, you can follow steps 1-3 above and then adjust the settings as needed.)
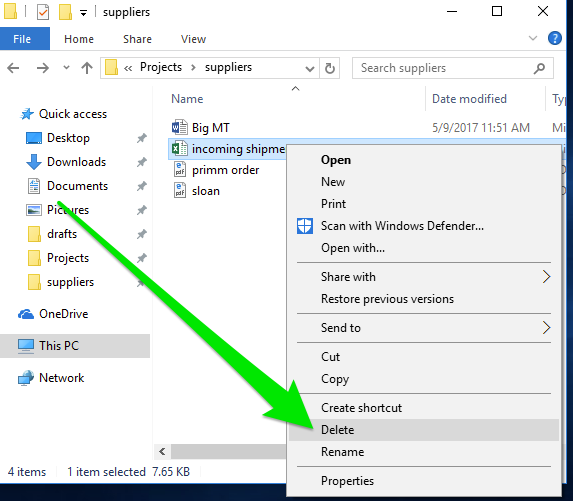
To delete a shared folder, you can follow these steps:
- Right-click on the shared folder and select “Properties.”
- Locate the “Sharing” tab and click on “Advanced Sharing.”
- Uncheck the box next to “Share this folder.”
- Select the “Apply” command and then “OK” to close the windows.
Note that deleting a shared folder will only remove it from being shared……
About Author
Discover more from SURFCLOUD TECHNOLOGY
Subscribe to get the latest posts sent to your email.