To remove a shared folder from the network, you can follow these steps:
-
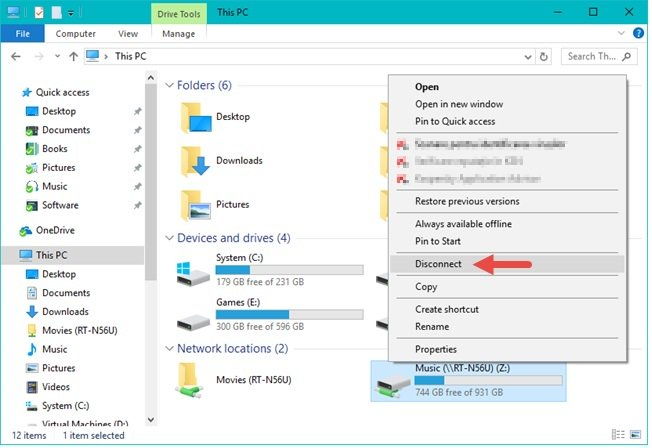
Open File Explorer and navigate to the folder you want to stop sharing.
-
Right-click on the folder and select “Properties”.
-
In the Properties window, click on the “Sharing” tab.
-
Click on “Advanced Sharing”.
-
In the Advanced Sharing window, uncheck the box “Share this folder”.
-
Click “Apply” and then “OK”.
-
In the Properties window, click “Close”.
The folder is no longer shared on the network. If the folder is currently open on another computer, it may remain accessible until it is closed.
If you want to remove the shared folder using Command Prompt, you can follow these steps:
-
Open Command Prompt as an administrator.
-
Ensure to type the following command to see all the shared folders on your computer:
net share
-
Find the name of the shared folder you want to remove.
-
Type the following command to remove the shared folder (replace “SharedFolderName” with the name of your shared folder):
net share SharedFolderName/delete
- Press Enter.
The shared folder is now removed from the network.
About Author
Discover more from SURFCLOUD TECHNOLOGY
Subscribe to get the latest posts sent to your email.