There are many ways through which a user can use to insert a table into a Word processing application.
METHOD 1
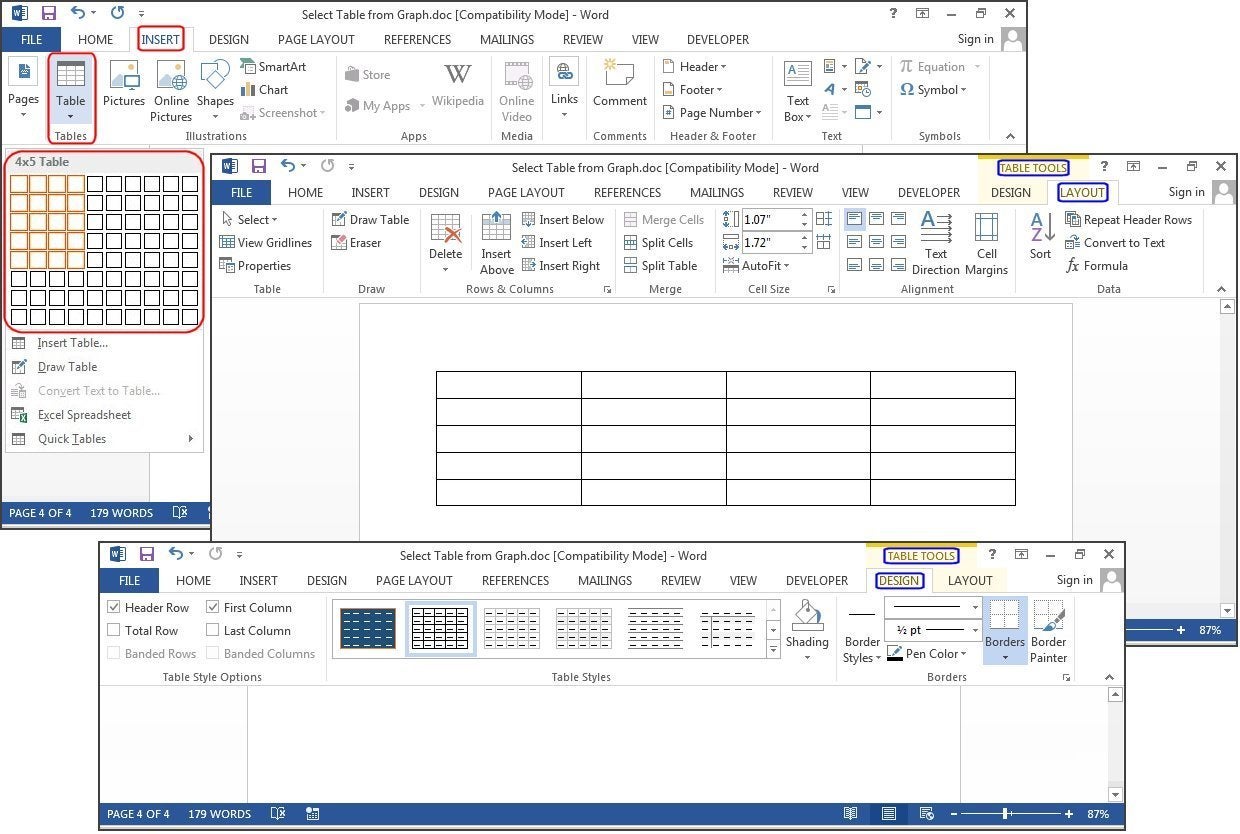
Using the INSERT Table Button
To insert a table, follow the below instructions:
- Locate or place the insertion point where you want your table to appear. (Click)
- Click on the INSERT tab from the main menu or locate Insert from the menu bar if you are using the older version of MS WORD.
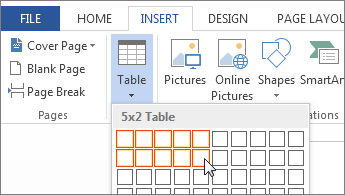
- Choose table
- Make an option by clicking on the boxes provided, that is pointing to them to activate the number of cells, columns or rows you want.
- Click on Apply or Ok( if any)
NOTE:
Table commands can be found under the illustration group in MS Word.
METHOD 2
Using the Quick Table Tool
- Place the cursor where you want to fix the table
- Type or input ‘I’, that is the pipe character – this creates a table with just a single cell.
- Press the tab key to add more columns and rows per your wish
- Proceed performing step 2 till you ascertain the right Columns and Rows.
METHOD 3
Using the Drawing Feature
- Click on the Insert button or ribbon
- Click on Table
- Choose or point to the draw table button or command and click on it
- Hold down the primary mouse button as you drag across to make an item or table
- Release the button
About Author
Discover more from SURFCLOUD TECHNOLOGY
Subscribe to get the latest posts sent to your email.