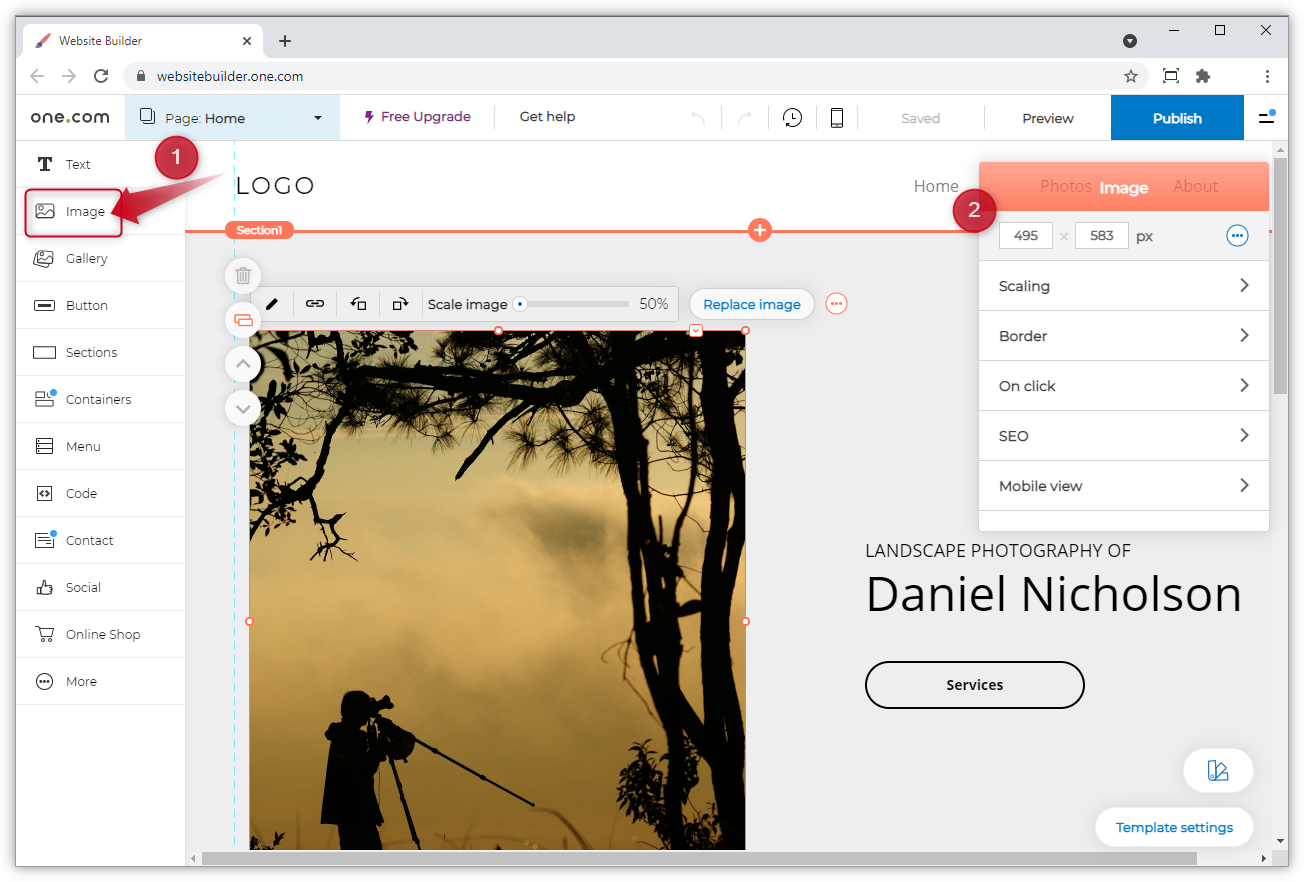
To add an image to a website, you can follow these general steps:
- Choose the image: First, select the image you want to add to your website. Make sure the image is in a web-friendly format such as JPEG, PNG, or GIF.
- Host the image: Next, you need to host the image on a web server or a file hosting service. You can upload the image to your website’s server or use a third-party service like Imgur or Google Photos.
- Get the image URL: Once the image is hosted, you need to get its URL. This is the web address where the image is located. You can usually find this by right-clicking the image and selecting “Copy Image Address” or similar option.
- Insert the image in your website: To insert the image in your website, you can use HTML code.
Here’s an example:
<img src=”your-image-url-here” alt=”description of the image”>
Replace “your-image-url-here” with the URL of your image. The “alt” attribute is used to provide a description of the image for accessibility purposes.
- Style the image: You can use CSS to style the image, such as setting its width and height, adding borders, or positioning it on the page.
Here’s an example of how to set the width and height of the image using CSS:
<img src=”your-image-url-here” alt=”description of the image” style=”width: 500px; height: 300px;”>
Remember to test your website to ensure that the image is displayed correctly and that the page loads quickly. Large images can slow down the loading time of your website, so it’s important to optimize them for web use.
About Author
Discover more from SURFCLOUD TECHNOLOGY
Subscribe to get the latest posts sent to your email.


