To insert a table in Microsoft Word, follow these steps:
- Open your Word document or create a new one.
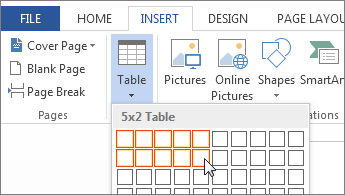
- Go to or move the mouse to the Insert tab in the ribbon.
- Ensure to click on the Table icon (it looks like a grid with four squares).
- A table dialog box will appear. You can choose the number of rows and columns you want by clicking on the corresponding drop-down menus.
- Once you have chosen the desired number of rows and columns, click on the OK button.
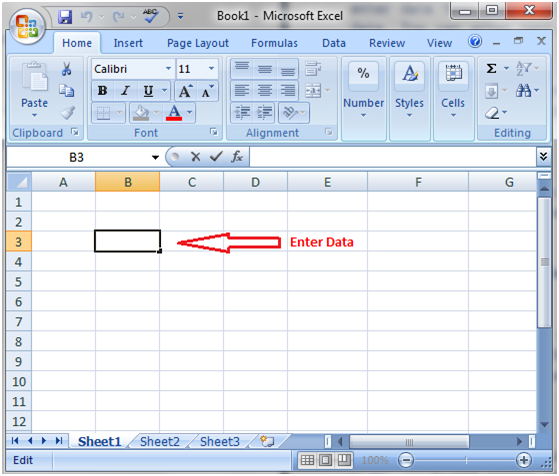
- The table will be inserted into your document. You can now add data to the cells by double-clicking on them.
- To format the table, select it by clicking on any cell. The Table Tools tab will appear on the ribbon.
- Use the options on the Table Tools tab to format your table, such as adding borders, changing the cell background color, or applying a table style.
Here’s an example of how to insert a table in Word:
(Additional alternative)
1. Open your Word document or create a new one.
2. Go to the Insert tab on the ribbon.
3. Click on the Table icon (it looks like a grid with four squares).
4. In the Table dialog box, select 3 for rows and 4 for columns.
5. Click on the OK button.
6. The table will be inserted into your document.
7. Double-click on the first cell to start adding data.
8. Press Enter to move to the next cell.
9. Repeat the process to add data to all the cells in your table.
10. Select the table by clicking on any cell.
11. Go to the Table Tools tab in the ribbon.
12. Use the options on the Table Tools tab to format your table, such as adding borders, changing the cell background color, or applying a table style.
Remember, you can always resize your table by dragging the corner of a cell or by using the Table Tools tab.
About Author
Discover more from SURFCLOUD TECHNOLOGY
Subscribe to get the latest posts sent to your email.