To create a table in Microsoft Word, you can follow these steps:
- Open a blank Word document.
- In the top ribbon, click on the “Insert” tab.
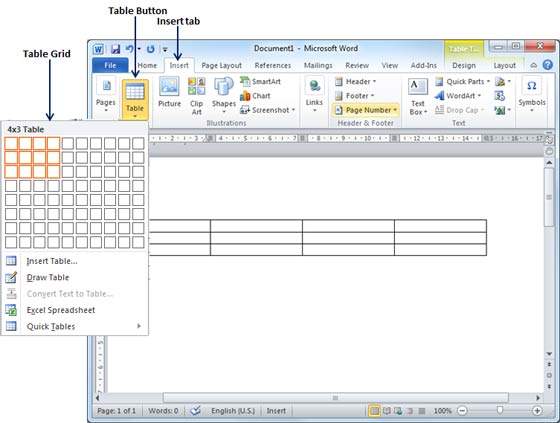
- Click on the “Table” button.
- Either use the diagram to select the number of columns and rows you need, or click “Insert Table” and a dialog box will appear where you can specify the number of columns and rows.
- The blank table will now appear on the page. You can alter it as necessary by using standard features like bold, italics, and underline.
Alternatively, you can convert existing text to a table by separating the text you want to convert to a table with paragraphs, commas, tabs, or a special character, then selecting the text, clicking “Insert” and “Table,” and selecting “Convert Text to Table.” You can then specify the table size, AutoFit behavior, and how you separated the text.
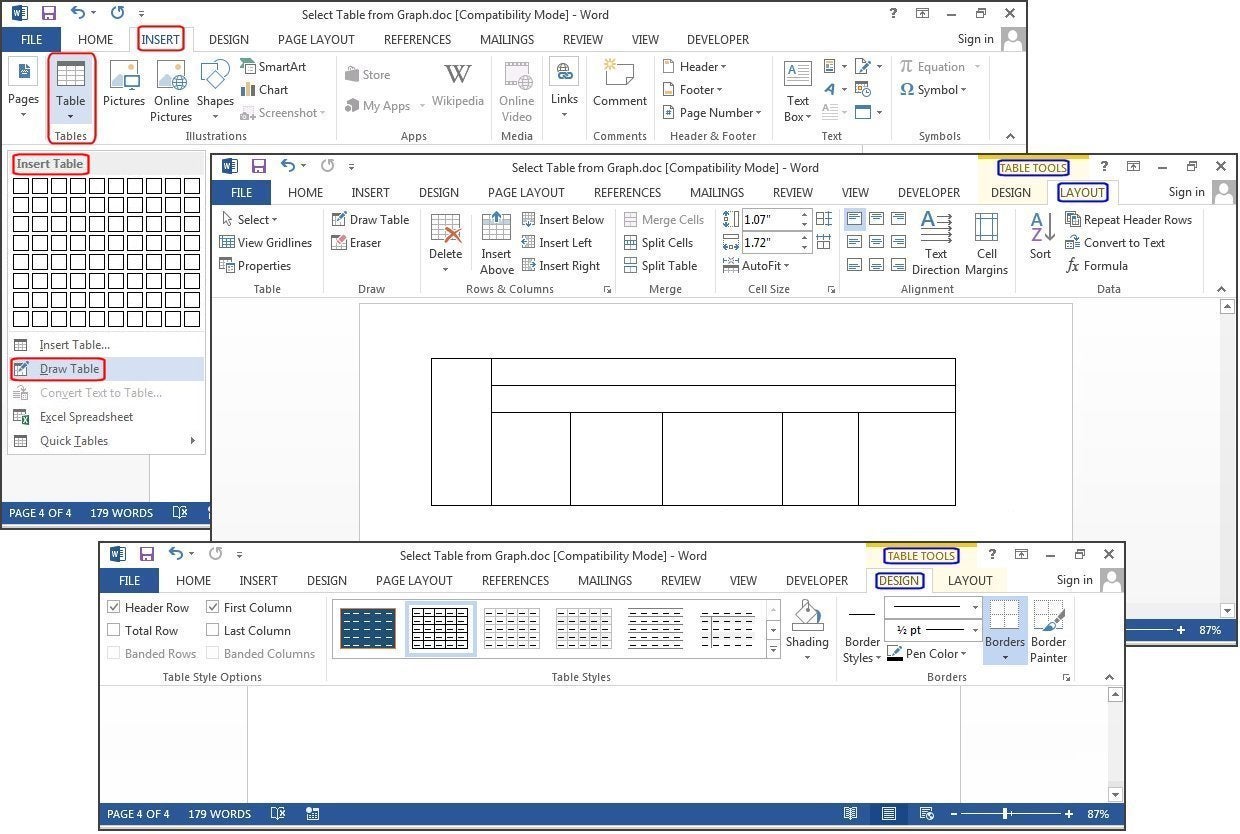
Once you’ve inserted a table, you can customize it by selecting a style on the “Table Tools” “Design” tab, inserting or deleting rows and columns, merging or splitting cells, and adjusting column widths and row heights. You can also use the “Layout” tab to modify the table layout, such as distributing rows or columns equally, changing the alignment of cells, and making text vertical.
About Author
Discover more from SURFCLOUD TECHNOLOGY
Subscribe to get the latest posts sent to your email.