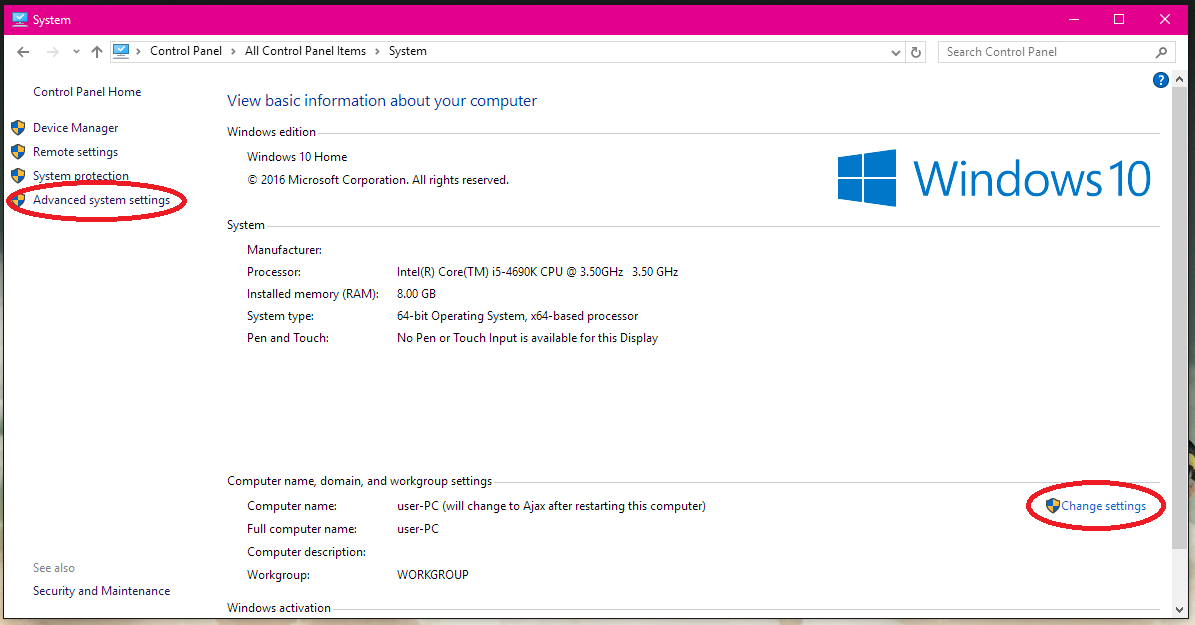
Customizing the name of the user’s PC in Windows helps in many ways, such as how to identify the computer over an entire network be it LAN, WAN and any other network topology such as SAN, PAN, and others.
The below steps help a user change the name of his or her computer.
- Ensure to click on the start button from the task bar
- Make sure you point to the settings command or button and click on it
- In the active settings window, make sure to click on system
- Ensure to move or scroll down and look for About
- Click on the Device specifications section to activate it
- Click on current name of your PC and next to that is Device name
- Click on the rename button to perform changes per your wish
- After entering your preferred name, click on the next button
- Ensure to click or feed in the new name you would like to assign
- Click on Ok if available and applicable
- The system requires a warm boot, that is restart now later
- Choose any of the aforementioned
Congratulations!!!
About Author
Discover more from SURFCLOUD TECHNOLOGY
Subscribe to get the latest posts sent to your email.


