Windows Photo Viewer is known to be one of the most popular image viewers that came with the known operating system that is Microsoft Windows 7 and other earlier versions of Windows.
There are many ways through which a user can enable the Windows photo viewer.
Method 1
Enable Windows Photo Viewer through the Registry
- Using the Windows key plus the R key, where R means RUN(Win+R)
- In the rectangular dialogue box, type regedit
- Press the enter key or click on the ok button once
- Move or navigate to the HKEY_LOCAL_MACHINE\SOFTWARE that is under Microsoft Windows Photo Viewer\Capabilities and FileAssociations
- Make sure you create a new string value and name it as PhotoViewer.FileAssoc.Tiff
- Ensure to set its value to FileAssoc.Tiff
- Close the Registry Editor
- Reboot or restart the PC
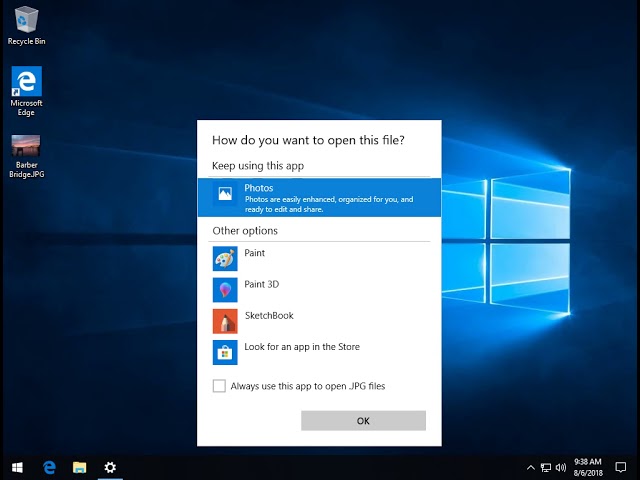
- After the reboot, you will see Windows photo viewer as an option when you right-click on an image of your choice
- Select and click on the open button, that is OPEN WITH
Method 2
Using the system Photo Viewer application
- Go to the Microsoft store by opening it, that is Windows 10
- In the search bar, type:
- Windows Photo Viewer
- Make sure to click on the Photo Viewer App
- In the opened environment choose Install
- This will download and install the application
- After the installation, a user can find Windows Photo Viewer in the start menu or by selecting it from the search bar when typed.
About Author
Discover more from SURFCLOUD TECHNOLOGY
Subscribe to get the latest posts sent to your email.