Windows Defender is known nationwide as one of the best antiviruses for eliminating malware and other threats in the entire computer system.
In addition, it has other viruses and protection features, such as account protection, firewall and network protection, application and even browser control. However, Device security and performance are the best features added to the application.
Also, to the aforementioned, family options and parental controls are inclusively added as an outstanding feature. Controlling Windows community videos and tracking children’s digital lives is also an amazing feature.
How to Set Up Windows Defender in Windows 10
-
Ensure to open the Windows Security by clicking on the start menu or clicking in the search bar. -
Type Windows Security -
Make sure to select the Windows Security Application from the given result. -
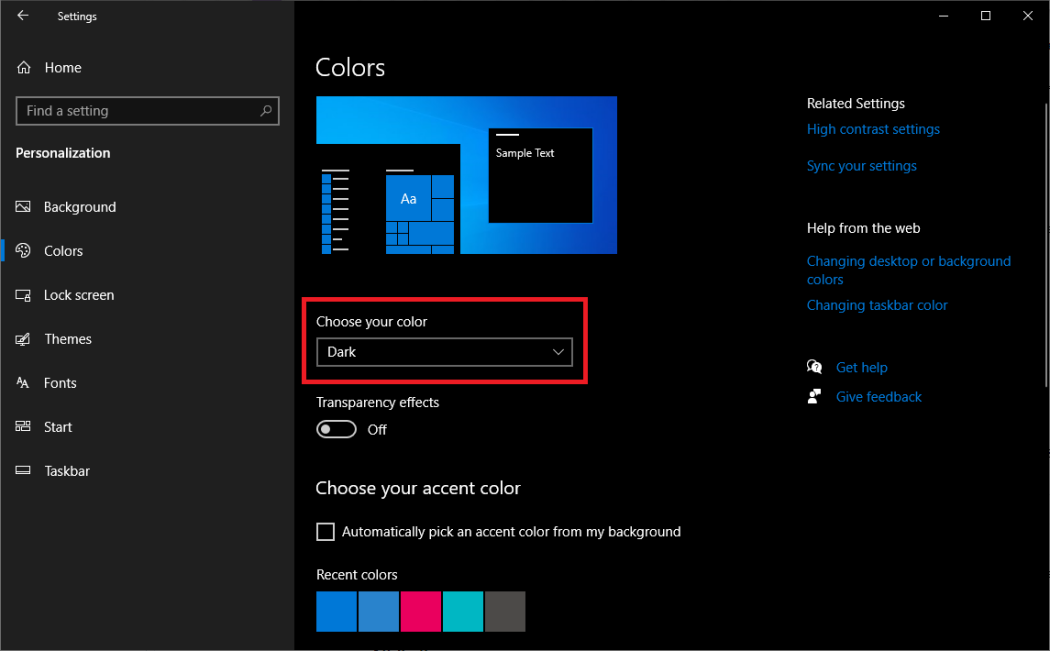
In the Windows security app window, click on Virus and Threat Protection. Note that this gives the user access to the settings related to malware and virus protection. -
Next is managing the settings. In this category, ensure to click on the manage settings strictly under the VIRUS & PROTECTION. Allow enable or disable various protection features. -
You must also enable real-time end protection, as this feature actively scans for threats in real-time. -
make an option by setting up scans, for threats, either choosing quick, or full scans or custom scanning of the system setups. -
Checking for updates and making sure it is enabled is the most important thing in this category. -
finally, it is good to configure the firewall to allow or disallow incoming alerts or outgoing features. -
Click on Apply or ok if available -
Click on OK
About Author
Discover more from SURFCLOUD TECHNOLOGY
Subscribe to get the latest posts sent to your email.