Managing and installing Windows updates in Windows 10 is a straightforward process.
Simplified steps:
- Ensure to explore or open the Start menu and click on the Settings icon (gear icon).
- In the given window, thus Setting’s window, make sure to click on the “Update & Security” option.
- In the Update & Security window, click on the “Windows Update” option in the left-hand menu.
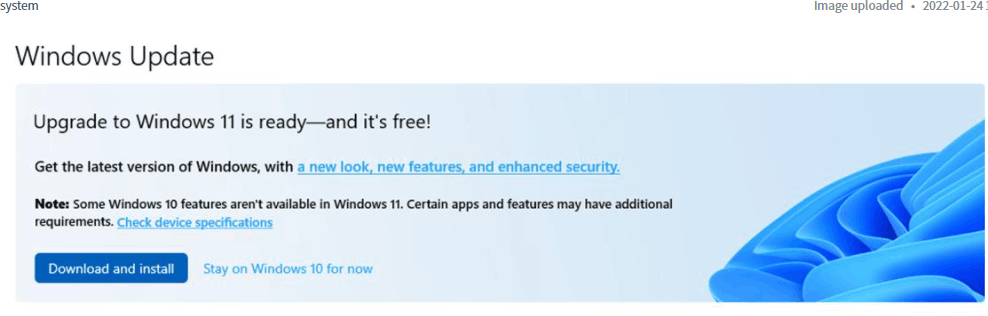
- To check for updates, click on the “Check for updates” button. Windows will search for any available updates and download them in the background.
- Once the updates have been downloaded, you will be prompted to install them. Click on the “Restart now” button to install the updates and restart your computer.
- After the restart, the installation process will continue. Your computer may take several minutes to finish installing the updates.
- Once the installation is complete, your computer will restart again.
- To verify that the updates were installed successfully, go back to the Windows Update section of the Settings app and check the update history.
It’s important to note that Windows 10 is set to automatically download and install updates by default. However, you can change this setting if you prefer to manually install updates. To do so, go to the Windows Update section of the Settings app, click on “Advanced options,” and then toggle off the “Automatic” option under “Choose how updates are installed.“
Additionally, it’s recommended to install updates as soon as they become available to ensure that your computer is running the latest security patches and features
Related posts:
About Author
Discover more from SURFCLOUD TECHNOLOGY
Subscribe to get the latest posts sent to your email.