Follow the below steps to perform the accurate task as required:
Creating a keyboard shortcut to take a screenshot and save it to a specific folder in Windows can be done by utilizing a batch (.bat) file. Here are the steps:
First, you need to enable the “Snipping Tool” on your system if it’s not already installed. You can do this by opening the Run dialog box by pressing Win + R, then typing optional features and pressing Enter.
In the “Windows Optional Features” window, check the box next to “Snipping Tool” and click “OK” to install it.
Next, create a new text file on your desktop and rename it “TakeScreenshot.bat.” Make sure to include the “.bat” extension.
Ensure to double-click on the “TakeScreenshot.bat” file to open it in Notepad.
Delete any existing text in the file and paste the following code:
@echo off
set SCREENSHOT_FOLDER=”C:\Users\YourUsername\Pictures\Screenshots”
snippingtool.exe /clip
timeout /t 1
move “%USERPROFILE%\Pictures\Screenshots\Capture.bmp” “%SCREENSHOT_FOLDER%”
Make sure to replace YourUsername with your actual Windows username. You can also change the path in the SCREENSHOT_FOLDER variable to the desired folder where you want to save the screenshots.
Save the changes to the batch file by going to “File > Save” in Notepad.
Now, you can create a keyboard shortcut to take a screenshot and save it to the specified folder.
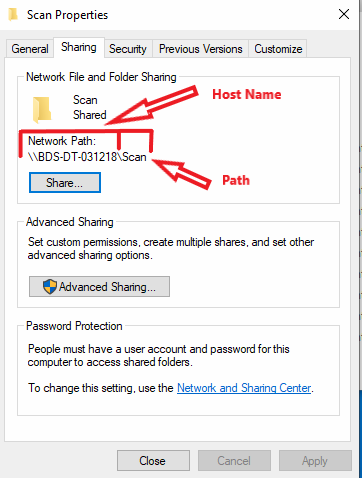
From the given window, right-click on the “TakeScreenshot.bat” file on your desktop and select “Create shortcut.”
Right-click on the newly created shortcut as shown, then select and click on properties.
Move to the “Shortcut” tab and click on the “Shortcut key” field or area .
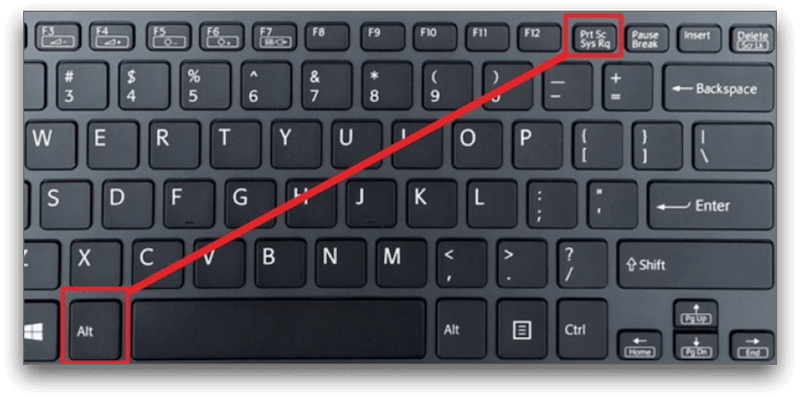
Press the desired key combination to set it as the keyboard shortcut for taking screenshots.
Now, whenever you press the assigned keyboard shortcut, the “Snipping Tool” will capture a screenshot, save it to the specified folder, and close.
About Author
Discover more from SURFCLOUD TECHNOLOGY
Subscribe to get the latest posts sent to your email.